NAME STAMP INSTRUCTIONS
Welcome Happy Stamper! Watch our handy video instructions or follow the written steps below before you get started on your stamping journey!
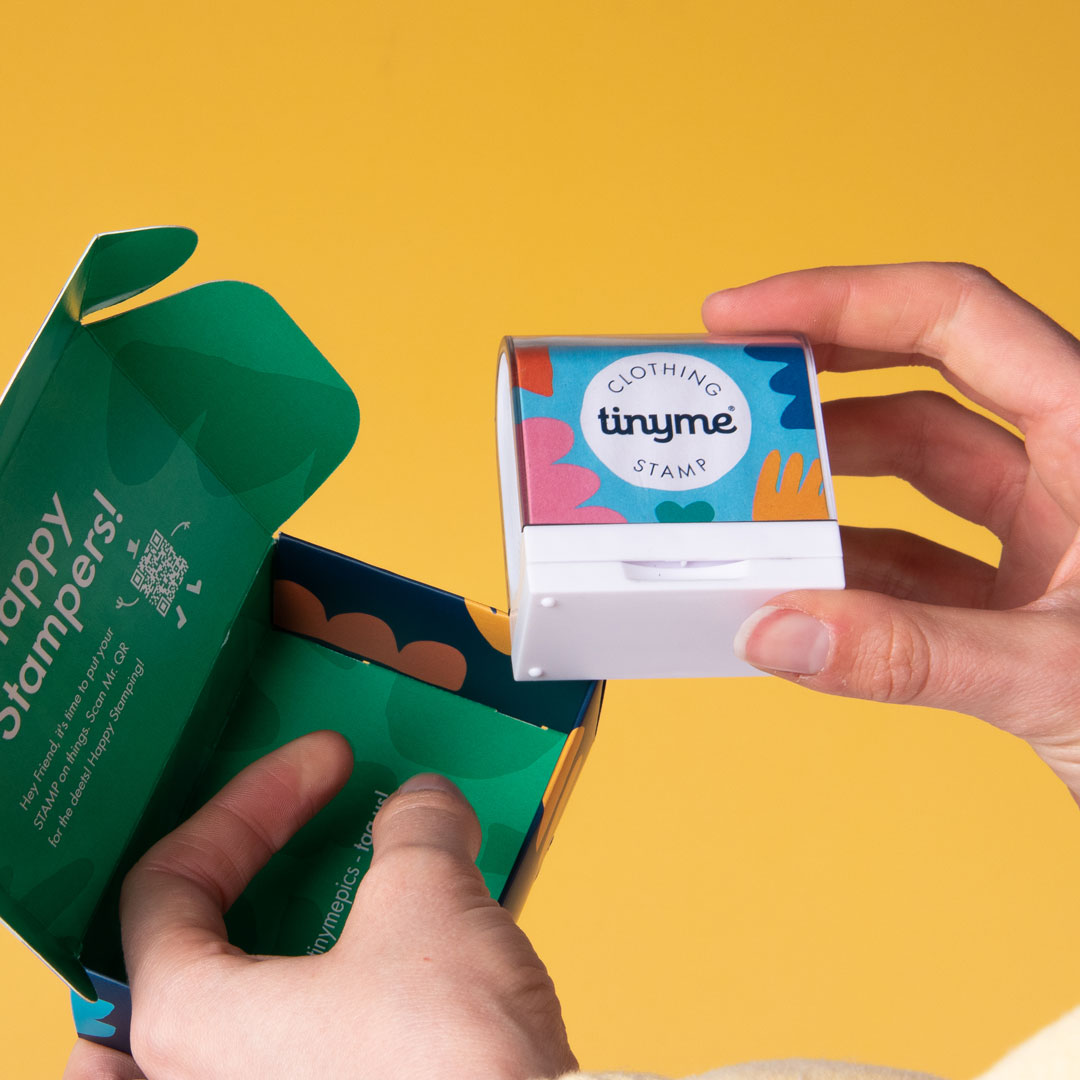

Welcome Happy Stamper!
Tinyme Name Stamps are lovingly pre-inked in the Tinyme Studio, and are ready to get STAMPING the moment they're out of the box!
Recommended Fabrics
• Cotton
• Elastane
Unsuitable Fabrics
• Nylon or Polyester
• Smooth or Satin
• Clothing Care Tag
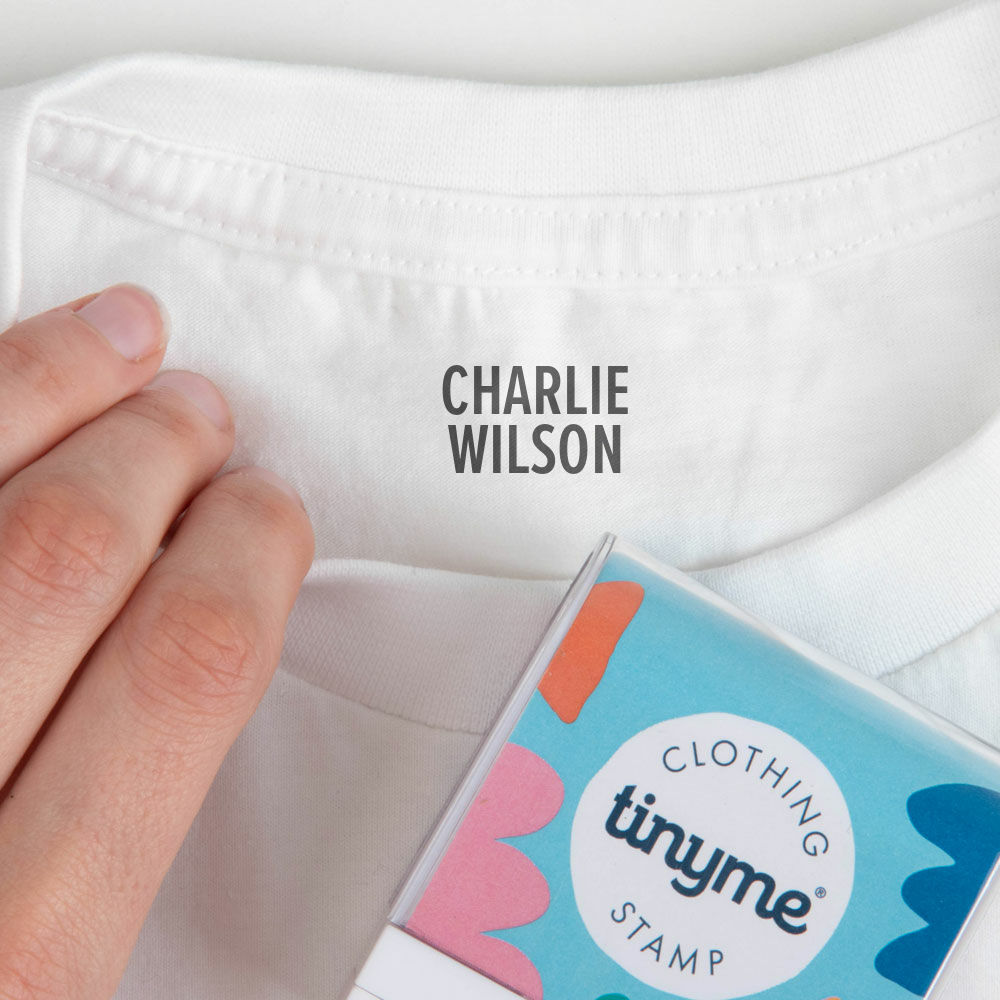

Before You Apply
1. We recommend testing stamping on a spare piece of clothing or paper to perfect your stamping quality (imprint location & pressure).
2. The clothing ink may bleed through thinner garments, so get your Blank Iron-On Labels ready if you have them.
Note: Applying greater pressure while stamping will result in more ink being released during the imprint.
How To Apply
1. Lay your garment on a flat, smooth and hard surface.
2. Locate the desired stamp location and apply moderate pressure to leave an impression.
3. Leave for 24 hours before use or washing.
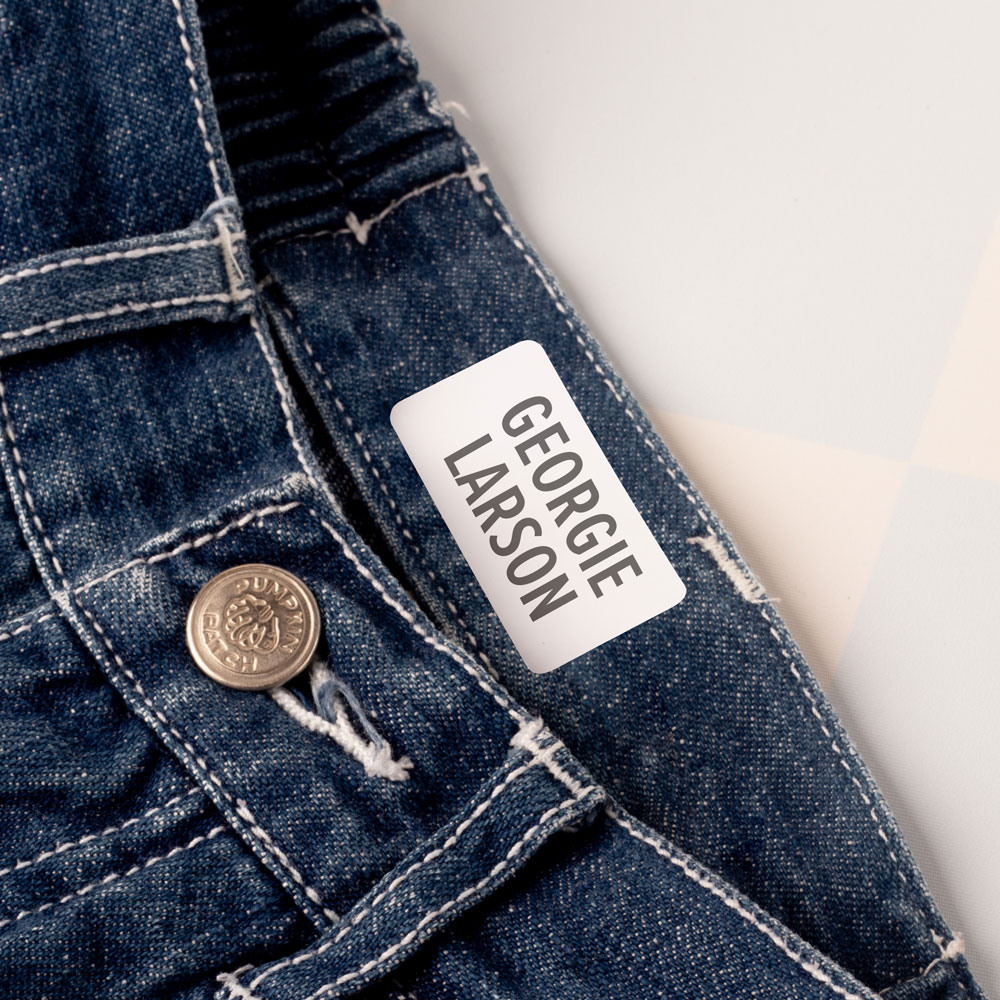

For Darker Or Thin Fabrics
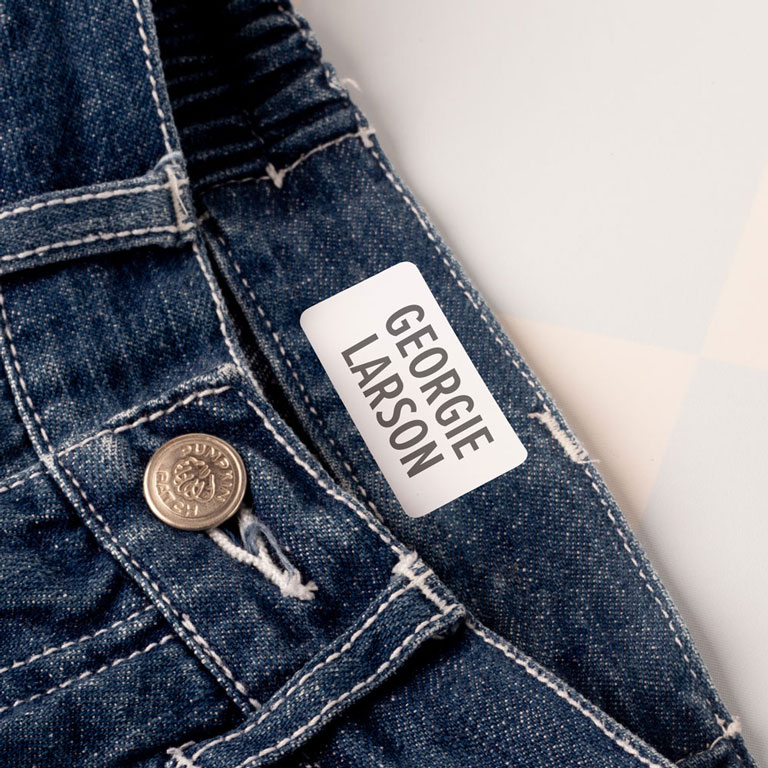
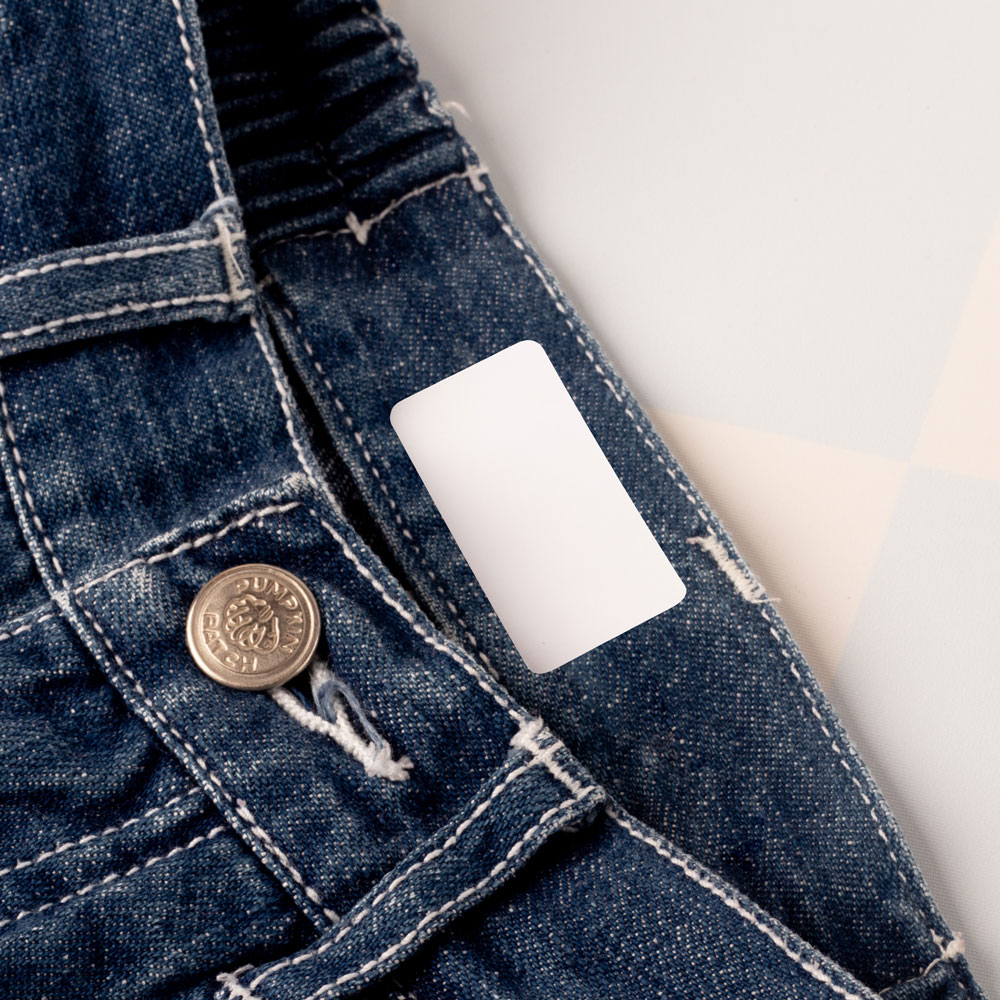
Use our Blank Iron-On Labels to create a clearer impression for thinner or darker clothes. To apply;
1. Peel a blank label from the Blank Iron-On Labels sheet.
2. Use a dry iron to apply the blank label to the dark garment.
3. Wait for your label to cool down, then STAMP AWAY!
For detailed instructions on how to iron on your label, click here
IRON ON CLOTHING LABEL INSTRUCTIONS
Please note: If garment is not suitable for hot iron be careful & iron at own risk. Never iron directly onto the label.
1. Preheat DRY iron to medium-high heat. Do not exceed garment recommended iron temperature.
2. Peel off the label & place onto fully dry garment, text side up. Please note: Labels applied to damp garments will not adhere properly.
3. Cover label with supplied parchment paper & press firmly with iron for 8–10 seconds.
4. If edges are not fully stuck (try peeling label off with fingernail), you may need to increase temperature, pressure or time & repeat above steps.
5. Safety Check: Before giving any item to small children, check that the name labels are fully and safely adhered.
WARNING: Labels can be a choking hazard.
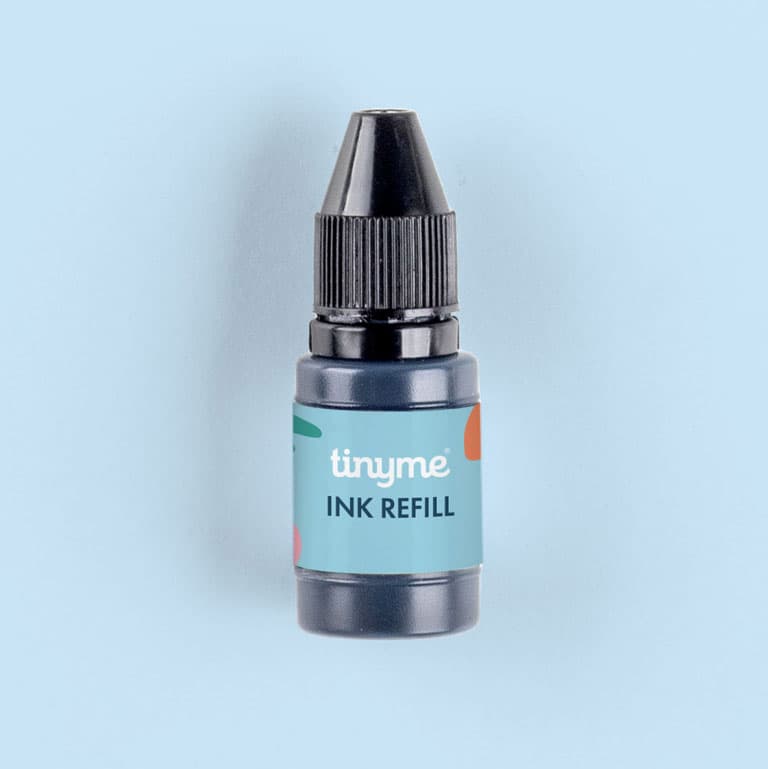

How to Refill the Stamp
1. Remove the Stamp Pad by pressing on the left and right latches
2. Flip the Stamp Pad. Place 1 to 2 drops of ink into each hole.
3. Repeat Step 2 until the pad no longer soaks up ink
4. Place the Stamp Pad back into the stamp shell
Note: If the ink pad no longer absorbs ink, it has been overfilled. Simply flip the stamp pad (holes facing down) onto a paper towel until the excess ink has drained.
IRON ON CLOTHING LABEL INSTRUCTIONS
Please note: If garment is not suitable for hot iron be careful & iron at own risk. Never iron directly onto the label.
1. Preheat DRY iron to medium-high heat. Do not exceed garment recommended iron temperature.
2. Peel off the label & place onto fully dry garment, text side up. Please note: Labels applied to damp garments will not adhere properly.
3. Cover label with supplied parchment paper & press firmly with iron for 8–10 seconds.
4. If edges are not fully stuck (try peeling label off with fingernail), you may need to increase temperature, pressure or time & repeat above steps.
5. Safety Check: Before giving any item to small children, check that the name labels are fully and safely adhered.
WARNING: Labels can be a choking hazard.
STEP-BY-STEP. Click To Reveal...
+ HOW DO I USE TINYME NAME STAMPS?
Tinyme Name Stamps come pre-inked and are ready to go the moment they arrive! You may want to do some test stamps on a spare piece of clothing or piece of paper. When you're ready, locate the desired position for the imprint and apply moderate pressure to leave an impression on your piece of clothing or hard surface. Applying greater pressure while stamping will result in more ink being released during the imprint.
Tips and Tricks for Clothing Name Stamps
- Once you've found your happy stamping spot, lay it flat on a smooth and hard surface.
- The Clothing Name Stamp ink works best on thicker and tighter weaved fabrics like cotton, polyester, and elastine.
- To leave a clearer impression on thinner or darker clothes, you can buy Blank Iron-On Labels here.
+ HOW DO I REFILL THE CLOTHING NAME STAMP?
Open the base lid of the Clothing Name Stamp to gain access to the black stamp pad. Remove the stamp pad by pressing on the left and right latches and slowly lift the stamp pad from the white stamp shell. Flip the stamp pad and place one to two drops of clothing ink into each of the three wells. Wait until the clothing ink is no longer visible and fully absorbed into the stamp pad. Repeat this process until the stamp pad no longer soaks up any ink. Once done, carefully return the black stamp pad into the white stamp shell.
If the ink is not being absorbed into the stamp pad, the stamp pad has been overfilled. Simply flip the stamp pad, with the wells facing down, onto paper towels until the excess ink has been drained.
+ HOW DO APPLY BLANK IRON-ON LABELS?
IRON ON CLOTHING LABEL INSTRUCTIONS
Please note: If garment is not suitable for hot iron be careful & iron at own risk. Never iron directly onto the label.
1. Preheat DRY iron to medium-high heat. Do not exceed garment recommended iron temperature.
2. Peel off the label & place onto fully dry garment, text side up. Please note: Labels applied to damp garments will not adhere properly.
3. Cover label with supplied parchment paper & press firmly with iron for 8–10 seconds.
4. If edges are not fully stuck (try peeling label off with fingernail), you may need to increase temperature, pressure or time & repeat above steps.
5. Safety Check: Before giving any item to small children, check that the name labels are fully and safely adhered.
WARNING: Labels can be a choking hazard.


Login and Registration Form